images\cherry_red.png1 采用docker部署Clodreve应用
      images\cherry_blue.png1.1 1,安装docker-compose
      images\cherry_blue.png1.2 2,搭建部署LNMP结构
         images\cherry_orange.png1.2.1 编写php配置文件
         images\cherry_orange.png1.2.2 编写nginx.conf配置文件
      images\cherry_blue.png1.3 3,配置应用目录
         images\cherry_orange.png1.3.1 nfs远程卷挂载
      images\cherry_blue.png1.4 MySQL配置
      images\cherry_blue.png1.5 测试部署应用
   images\cherry_red.png2 Cloudreve云架构设计图
      images\cherry_blue.png2.1 网络模式
      images\cherry_blue.png2.2 Linux命令
         images\cherry_orange.png2.2.1 chown
         images\cherry_orange.png2.2.2 find
         images\cherry_orange.png2.2.3 awk(文本切片处理)
         images\cherry_orange.png2.2.4 cut
      images\cherry_blue.png2.3 存储系统创建拉伸
         images\cherry_orange.png2.3.1 LVM逻辑卷的创建及使用
      images\cherry_blue.png2.4 Nginx初始化操作
         images\cherry_orange.png2.4.1 Nginx 惊群效应
      images\cherry_blue.png2.5 Nginx负载均衡反向代理
         images\cherry_orange.png2.5.1 负载均衡的算法
      images\cherry_blue.png2.6 存储服务器搭建
      images\cherry_blue.png2.7 构建动态服务器PHP
      images\cherry_blue.png2.8 Keepalived代理服务器高可用
         images\cherry_orange.png2.8.1 Keeplived原理
      images\cherry_blue.png2.9 MySQL主从模型构建
         images\cherry_orange.png2.9.1 主从复用(读写分离)
      images\cherry_blue.png2.10 上线Cloud应用
1,克隆安装一台新的代理服务器,ip初始化,参照nginx初始化操作


2,部署Nginx 代理

rm -rf /etc/nginx/nginx.conf
rm -rf /etc/nginx/conf.d/default.conf

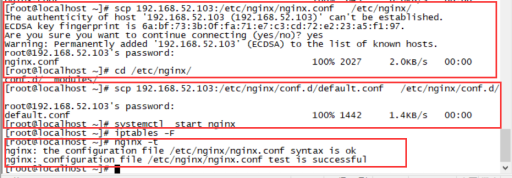
scp 192.168.52.103:/etc/nginx/nginx.conf /etc/nginx/
scp 192.168.52.103:/etc/nginx/conf.d/default /etc/nginx/conf.d/

重新启动nginx服务,并且关闭防火墙。
systemctl restart nginx
iptables -F
images\11-1.png


images\11-2.png

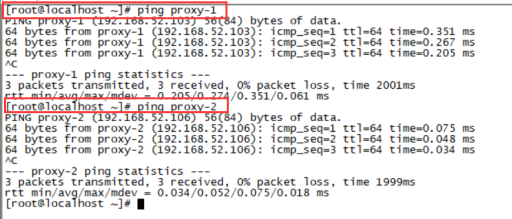
在代理服务器上面分别在 etc/hosts 添加解析语句
vim /etc/hosts
192.168.52.103 proxy-1
192.168.52.106 proxy-2

ping proxy-1
ping proxy-2
images\11-3.png

3,Keepalived 初始化操作
安装 keepalived
yum install -y keepalived
配置文件
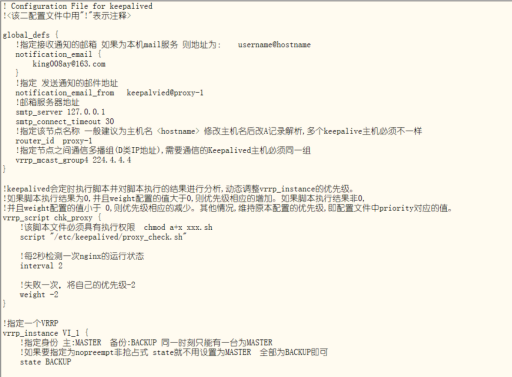
vim /etc/keepalived/keepalived.conf
images\11-4.png

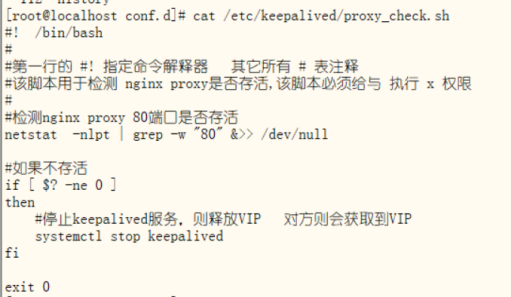
vim /etc/keepalived/proxy_check.sh
images\11-5.png

赋予脚本权限
chmod a+x /etc/keepalived/proxy_check.sh